Tuesday, April 28, 2015

DIY Up-cycle with Decorative Trimmings


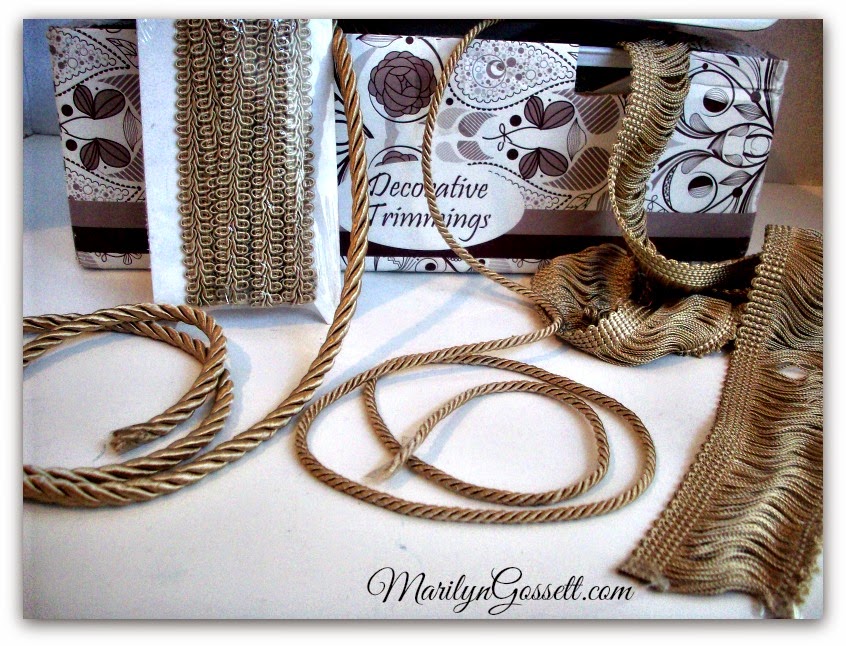
Wedding season is almost upon us!  I have two friends who have kids getting married in May.  I created an up-cycled Bridal Vanity Set by adding some paint and Decorative Trimmings.  Check out the process below!


Here is the link to the Decorative Trimmings Website:  http://designercraftsconnection.blogspot.com/


It was fun turning this stainless steel pail into a pretty trash can below.


**BONUS**
BATH SALTS

I had a bottle with a doll's head I had painted sitting on the shelf for a LONG time.  As there were scraps of trimmings left, I decided to decorate this jar and add some scented Epsom salts to the bottle.  Do you know of any bride who couldn't use a relaxing soak before or after her wedding?  

She is a cute addition to the vanity decor.

I hope you got some inspiration here today.  I love giving new life to discarded items and Decorative Trimmings was the perfect embellishment for these up-cycled projects.

Take some time to enjoy the small blessings along the way and,

Live Life with a Flourish,

Marilyn


Wednesday, April 8, 2015

Celebrate Earth Day with this Summer DIY Up-cycle Project!


Today I am sharing how to make a Summer Serving Set for the patio, etc.

We all want to be good stewards of what we have and save our earth, right?  With the help of Walnut Hollow and Kunin felt products, I will show you how to turn some glass jars from the recycle bin, into a cute, patio serving set for summer entertaining!


FUN FACT #1:  Did you know that Kunin Group Felt and Walnut Hollow are eco-friendly companies?  Check out the facts here:  http://www.walnuthollow.com/about-us/


You will need:

*Walnut Hollow:  Rustic Tray, Square #40687; Rustic Shutter #40678
*Kunin Printzfelt:  2 sheets of floral print in pinks, yellow, orange and yellow
*Misc. recycled jars and a milk jug jar
*scraps of cardstock papers in pink, yellow, green, purple and gold
*electronic die cut machine and die with letters (these were cut at 1-1/2" and 1-3/4" tall)
*Optional:  Stencil the letters using paint or purchase alphabet stickers
*roll of jute twine (3 ply)
*several buttons in matching colors
*Adhesive
*Chalk paints:  (I used Americana Decor Chalky Finish)  rustic (brown);primitive (lt. gray); remembrance (lt. purple); smitten (peach); new life (leaf green); delicate (lt. yellow); Sealer
*  Paint brushes:  1" flat; 1/2" angle
*scissors
*sand paper, cloth
*water bucket (for painting), paper towels


Allow the first coat of paint to dry thoroughly.

Jars:
I used sauerkraut jar for the utensil container.  I painted the second coat green and let it dry; then painted coordinating colors on the squares of a pattern that was part of the jar.  The variation of colors can be painted on with the 1/2" angle brush even if there isn't a pattern in the glass to follow.  Experiment with different jars that might have embossed designs on them.

The straw holder is a jam jar.  I painted a coat of the peach color over the brown base coat.  Let it dry completely. 

The vintage milk bottle was given a coat of the yellow.  Let it dry completely.  Use the sandpaper to very lightly sand away a little of the top coat to let some of the brown show through.  If you don't care about a rustic look, skip this step.

Apply a coat of sealer.

Embellish the jars:
Cut strips of eco-fi felt to fit around each jar and adhere, overlapping the ends.  Refer to instructions given below for the tray to make the jute embellishments for the jars.
Adhere jute around the top lip of each jar.  Cover up all of the grooves with the jute, finish with a shoestring bow.

Tray:  Apply a coat of lt. purple to the outside of the tray only, leaving the top edges and the inside brown.
Let dry; apply sealer.

Felt:  Cut felt strips to go around the bottom half of the tray as shown.  If it has to be pieces, try to place the seam where it won't show.  Apply a bead of adhesive above the felt strip.  Wind a couple strands of jute (or more) around the middle of the tray.

Embellishment:  Jute Medallion:  Apply a 2" circle of adhesive to a piece (scrap) of the felt.  Bend 1/2" of the end of the twine in two, (this is the middle), spiral (wrap) the twine around the middle between thumbs and forefingers until it forms a 2" circle.  Adhere the medallion to the piece of felt, pressing it into the felt.  Cut out leaving a 1/8" border of felt.  Adhere the medallion to the front of the tray as shown in the photo given.  Glue a button to the middle of the jute medallion.  *Note:  Make the medallions slightly smaller for the jars, gauging by the size of the jar.


Rustic Shutter:  Lightly sand any rough edges.  The wood is porous, so it will still feel grainy.
Paint lt. gray.  Allow to dry thoroughly.  Seal.
Adhere (or stencil) words on the slats using coordinating colors.  I applied some light brown chalk ink to the edges of the paper letters before adhering them to the slats.
Finish by applying a little chalk ink to the edges of the shutters for desired effect.

I chose to sponge a little of the chalk ink on each piece of the set to make them all look a little more weathered.  This is an optional step.

Spring has sprung and Summer is coming soon!  Hope you have enjoyed the concepts for this DYI patio service and will create some fun while helping in your little piece of the world.

Take time to enjoy the little blessings in life and
Life Life with a Flourish!

Marilyn


Our teams are sharing projects that pair both Kunin Group felt and Walnut Hollow wood products to create practical and beautiful home decor, organizing solutions, and entertaining items. You can make these projects all year long, not just for Earth Day. To see more inspiring projects, continue on the hop using the list below:
Marilyn Gossett  (That's me!)
And to sweeten the Made In the USA, eco-friendly fun, we’re having a giveaway! We’re sending an assortment of Walnut Hollow wood products to one lucky crafter. Use the widget below to enter to win!

#sponsored  #walnuthollow  #Cre8time   #DecoArt


Monday, April 6, 2015

Handmade Flowers are the theme of the day!


I love handmade flowers!  Back in the early 1980's, I made my own flowers to embellish everything.  The ribbon roses were my handmade flower of choice back then.  Eventually I discovered the pre-made flowers and decided the handmade were one step I could eliminate in the design process!

As paper gained in popularity, I found that I loved using the beautiful memory papers for creating 3-D projects.  There are cartridges for our electronic cutting machines and dies for embossing machines that provide  cut-outs for creating gorgeous paper flowers of all kinds.  The flowers pictured below are cut out with a themed cartridge on my Cricut machine.  I then use a quilling tool to shape the flower.  That part of the process makes for great lap tray activity while watching TV.


Paper punches in different sizes are also great for creating paper flowers!  The sample shown below are paper flowers that are punched out, layers and shaded with chalk inks.  I used these flowers to embellish some CraZy TACKz. http://crazytackz4crafts.blogspot.com/ These were added to a Smoothfoam project to add a useful feature.  Keys, jewelry, etc. can be hung on the hooks of the CraZy TACKz.

Paper flowers were added to a multi-media frame in the project shown below.  Paper is organic and I find it works so well with almost all surfaces you can craft on!


The fairy ornaments pictured below are some that I designed for a vendor store I have a booth in.  My main niche in the shop is paper crafted projects.  This project probably has more paper flowers on it than any I have created in the past to the present!  The base is a Smoothfoam http://www.smoothfoam.com/half ball that provided a great display surface to hold my little fairies.  I have used the same shspe for similar various other projects.


This wraps up my "Flowers on Parade" post for today.  I hope you go away feeling inspired to make some pretty flowers!  I love Spring!  Everything is fresh and green and the flowers are popping out everywhere providing us with tons of eye candy and inspiration!  I hope you take time to enjoy the little blessings along the way, and.....

Live Life with a Flourish!

Marilyn


PS.  Make sure to go to the blue link at the top of the page to go forward or backward on this Hop!

#CraZy TACKz    #CloseToMyHeart   #Smoothfoam

Friday, April 3, 2015

Perpetual Mother's Day Card with Deflecto Clear Pouches


Mother's Day is next month!  We just got done celebrating Easter, but it is never too soon to get a head start on special day gift giving!  Deflecto has just come out with some 5 x 7 clear plastic pouches.  Our design team was having a lot of fun with the smaller sizes and that generated interest in getting some different sizes. We are the first ones to get to try these out!


My mother is still with us, but she doesn't know us anymore.  I miss her a lot and decided to create this perpetual card with a favorite memory I have of me and my mom. I scrapped some 5 x 7" pages to put in the pouches.  I wanted more than one picture and I wanted to add sentiments.  I decided to design a "tent" poster board structure to hang my pouches on.  I used 3 pouches and used both sides of the kraft paper I created my page with.  When you flip each page over and turn the "tent" around; you will see three Mother's Day sayings on the reverse side.


I went online and Googled "Mother's Day Sayings".  A lot of graphics popped up.  I saved some into my files and then took them to PicMonkey to add frames to the sayings for my card.  I created a word document and imported my graphics that I had edited.  After sizing them to what I needed; I printed them out on white cardstock and created a page for each.


To start, I gathered my poster board and papers along with the other supplies you see pictured below.  I used chipboard Complements by Close To My Heart to embellish my 5 x 7" lay-outs.  There are many paper collections with matching embellishments.  There are so many ways you could go with this concept. Not just Mother's Day!  The finished pages are attached with a piece of ribbon that I applied ink to, matching my papers.


Above are the dimensions I used to make the poster board tent.  I folded the long piece in two matching the short edges and punched one hole just down from the top edge in the middle.  Then I folded along all of the scored edges and adhered the bottom portion to the top portion.

Hope you got some good ideas here today and make some awesome perpetual cards.

Make sure to take time to enjoy the little blessings in life and
Life Life with a Flourish!

Marilyn


#Deflecto   #Cre8time   #Plastic Pouches    #Close To My Heart   #Mother's Day


Tuesday, March 17, 2015

Easy Home Decor with Connie Crystal!


Do you love EASY?  I do!  Of course it has to be appealing as well; and thanks to Connie Crystal we have a fun product that is great for jazzing up simple pieces as shown here today.

The rhinestone trim shown in these projects comes in wider pieces than are shown here.  The trim is available in white and black and can be cut into different shapes.  I have cut double and single rows of the trim in the lengths I needed to embellish my projects.  It helps make the product go farther!


Refer to the photo given below: 

To begin, I put the lid on the paper mache' box and traced around the base of the sides of the lid onto the box with a pencil.  I then removed the lid and applied Gesso to the box as shown in the photo below.  I built the layers up leaving about a 1/8" bare spot in between each square.  That is where I will glue the trim pieces later.  The Gesso should dry overnight before painting.

I painted the inside and outside of the box & lid with DecoArt Chalky Finish in Vintage.  Once completely dry; apply Silver Metallic Lustre with a small piece of rag cloth. Lightly apply over the Gesso treated squares and on the edges of the box.  


For the final step, embellish with the crystals as shown in the photo below.  I attached a glass knob to the top of the lid but this could be a flower, doily, etc.


Simply measure and glue the trim to the acrylic frame as shown in the photo below.  I used a liquid dimensional medium to adhere the trim.  The medium I used was Dimensional Magic by Plaid.
There are other adhesives that will work but I prefer this one as it dries quickly and doesn't leave glue smears if you are careful.


The final project in this trio is the ivy bowl.  This was such a simple project to do and looks so good when it is done!  You will paint the inside of the ivy bowl with the same chalk paint that was used on the box.  Again, you will be painting the INSIDE.  One good coat should do it, then allow it to dry thoroughly.  I added a little of the silver Metallic Lustre to the scalloped rim of the ivy bowl to finish it.  I cut two rows of the rhinestone trim in the desired length and adhered it to the neck of the ivy bowl as shown.  A piece of scotch tape will work to hold the ends in place until they dry and adhere on their own.


Below is a photo of the completed vanity or desk trio.  I like them because they are small and will dress-up and personalize a small area.


But WAIT!

There is a bonus project!

Easter is coming and I decorated some Smoothfoam eggs with the remnants of trim that I had left over.  The rhinestones cut apart easily and I used them to embellish these eggs that I covered with jute twine.  The ribbon is an off-white satin that I colored using my ink pads and a cosmetic sponge.  
Flowers:  I sewed a running stitch along one edge of a 10" piece of ribbon and pulled the thread to gather and form the flower; then triple stitched in one place to secure.  I used a tacky glue to adhere all of the pieces together.


I make character clips to decorate gift bag closures for the different holidays.  The individual rhinestones cut from the trim work great for the eyes as you can see on the chick clip below!  Also for the rhinestone polka dots on the eggs.


I hope you have enjoyed this blog today and the different uses for the Connie Crystal trims. Visit their site to see their other trims, beads and sun catchers. There will be different products featured on the blog hop today.  Go to the blue Designer Craft Connection button at the top of my page to go forward or backward on the hop.

Take time to enjoy the small blessings along the way and
Live Life with a Flourish!

Marilyn


#Cre8time   #NationalCraftMonth   #ConnieCrystal   #Deflecto   #DecoArt   #Smoothfoam


Thursday, March 12, 2015

St. Patricks fun with Etchall


Who doesn't like to drink coffee out of a fancy or personalized coffee cup?  I know I do!  I bought a nice mug at my favorite store for......(you guessed it!) $1.00! The Dollar Tree is the perfect place to find glass for etching.


This is how it looked when I started.


I gathered my etching supplies...... I think this is the best product out there! 


I used my electronic die-cut machine (Cricut), but any die-cut machine should work.  Find a die that you like; center it on a square of contact paper.  Make sure to leave at least a full 1/4" border around the cut.
Remove the release paper from one square.  Arrange and press onto the glass making sure that there are no air bubbles between the paper and the glass.  Following the manufacturer's direction, generously apply the etching cream to the exposed glass.  Take care not to get it on any other part of the mug.  You might have to prop up the mug to prevent the etchall medium from sliding. Wait 15 minutes; remove cream and put back into container.  You can use it over and over.  Remove the contact paper; rinse and dry the glass.  Apply the whole process again, until there is a border around the mug as shown.  Use your own judgement as to how many designs you want to apply.


Below is a picture of the finished mug.  Now I want to put some goodies in it because it is going to be a gift for a friend.  


I added a little package of Starbucks coffee and a bottle of green nail polish for "pinch protection".  The leprechaun is a little clip that I made and I glued some plastic gold coins on a piece of cardstock that I slipped in for a little added decoration.  Voila'!  Happy St. Patty's Day!


Hope this project inspired you to make some inexpensive gifts or to make one for yourself!
Here is the Etchall website!  http://etchall.com/

#Etchall.com     #Cre8time    #NationalCraftMonth

Take the time to enjoy the small blessings in life and
Live Life with a Flourish!

Marilyn