Tuesday, February 26, 2013

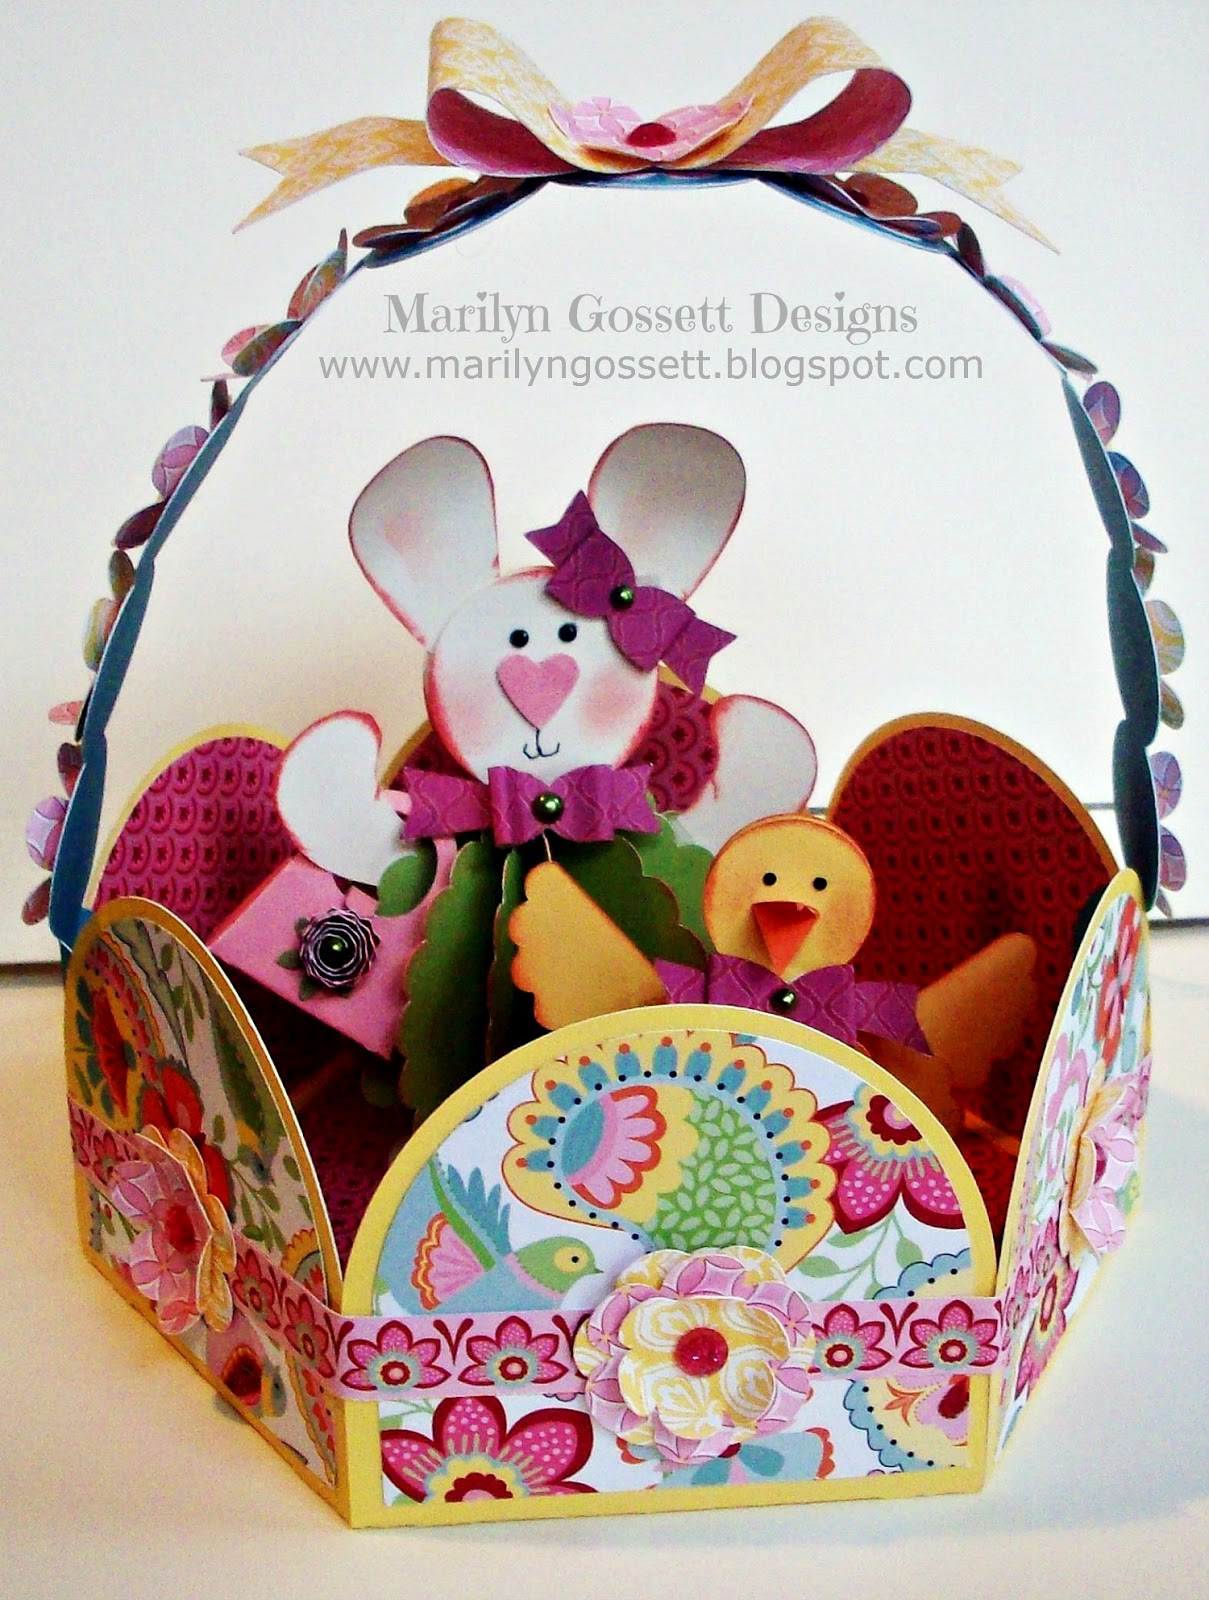
A TISKET, A TASKET...A CHANTILLY BASKET!

Easter is on it's way!

 
March is nearly here!  Good thing because I love Spring and Summer, bad thing because time has flown by!  Easter will be here by the end of March this year and has me thinking about colored eggs and Easter baskets.  I found a Cricut cut that I thought would work nicely for a basket.  So, I went to work trying it, and it worked!  I will be holding a workshop next week and this is the featured project.  CTMH has new papers for this time of year, and one of them is a stand-out to me.  The Chantilly paper collection is like a smile.  So cheerful and colorful, I have really enjoyed working with them.  Below is another pic of the basket, but with some Easter friends!


I couldn't stop at the basket.  I had to make some cards.  So, here is a sampling of cards, cut and assembled from the same papers.


The last picture is an Easter badge I made with the same stamp set  as the card above it.  This is a fun way to use a themed stamp set.  Layer the elements into a dimensional piece, suitable for wearing!

The Cricut cartridge that I used to cut all of the projects you see here is the "Artiste" by Close To My Heart.  There is a shopping cart button at the side of this post to go and view the catalogue if you would like.  I have many a Cricut cartridge ....but this one has the best variety of 3-D and great stuff that I have seen in a while!  Well worth the price!

I hope you have been inspired now to get started with your Spring projects if you haven't been already! 

Happy Crafting!
 
Marilyn


Monday, February 4, 2013

(Some)....CRAFTS I LOVE!

Good Morning Blog Hoppers!  I realized that I had a project posted, appropriate for the month, but had not yet posted my project for DCC's monthly blog hop for today!  I decided to dig into the archives, because there are so many crafts that I love; but my all-time favorite has been craft painting.  I am posting some pictures from a Hot Off The Press publication, circa 2001.  I may be dating myself, but I still love purchasing an item for around a Dollar and making it into something to be proud of to decorate with or give as a gift.  So, the following are some ivy bowl projects that were painted with a paint that is especially for glass and clay pot surfaces.

(For a close-up view of the pictures, click on one for a slide show!)

 
 In honor of February, the picture above is the "Queen of Hearts".  Two ivy bowls with fluted edges and some small embellishments made this cutie worthy of "giving"!  Lift the top bowl, (head), and fill the larger bowl with candy or some kind of surprise!  The photo shown below is a cute little bee snack plate trio.  A candle is burning in the small ivy bowl head.

 
Below is a zebra painted ivy bowl.  Hide a little treasure inside, then finish off with a small ivy bowl and a candle!  Perfect for a romantic evening!


The little cutie shown below is filled with cinnamon hearts.  The head is a wooden ball knob, glued to the top or the cork stopper and painted.  Not sure if you can still find the raffia hair in stores.  She is another gift that is fun to give for Valentine's Day!


The design shown below was created from a glass ivy bowl and a clear glass flower pot.  Detail for the face is shown in the thumbnail photo in the bottom corner.  I have a friend that loves lady bugs and she decorated for a small reception using this as her theme.  Cute!

 
 And finally, another bottle!  This one was painted and put together using the same technique as the Cinnamon Hearts bottle.  The embellishing is the frosting on the cake and so much fun to do!  Easy too!


That is it for today.  I had fun going back and looking through some old books.  These publications have been out of circulation for some time, but I enjoy going back in time and bringing some of these projects to life again!

Hope you have an awesome month of LOVE and enjoy the rest of the hop.
Thanks for stopping by!

Happy Crafting
& Celebrate Love!
 
Marilyn

Monday, January 28, 2013

LOVE & VALENTINES!

Hello friends! Welcome to 2013! I realized that I have not put up a post in a while and low and behold...one of my favorite Holidays is on the horizon!
I love Valentine's Day! Over the years I have realized that unless I start thinking about it about a month before it is here, I miss out on a lot of the fun and creative activities that come with it!


Do you remember making homemade Valentines' when you were a kid?  Or, picking out a special box of Valentines to share at school and maybe adding a little conversation heart with a special message for a special friend?  Many of us have carried this tradition into our adult years, and one of those would be me!  I love handmade gifts and cards and get that warm, cozy feeling the memories bring from childhood when I make them.  Of course giving them is the cherry on the cake!  I have a few ideas I would like to share with you!


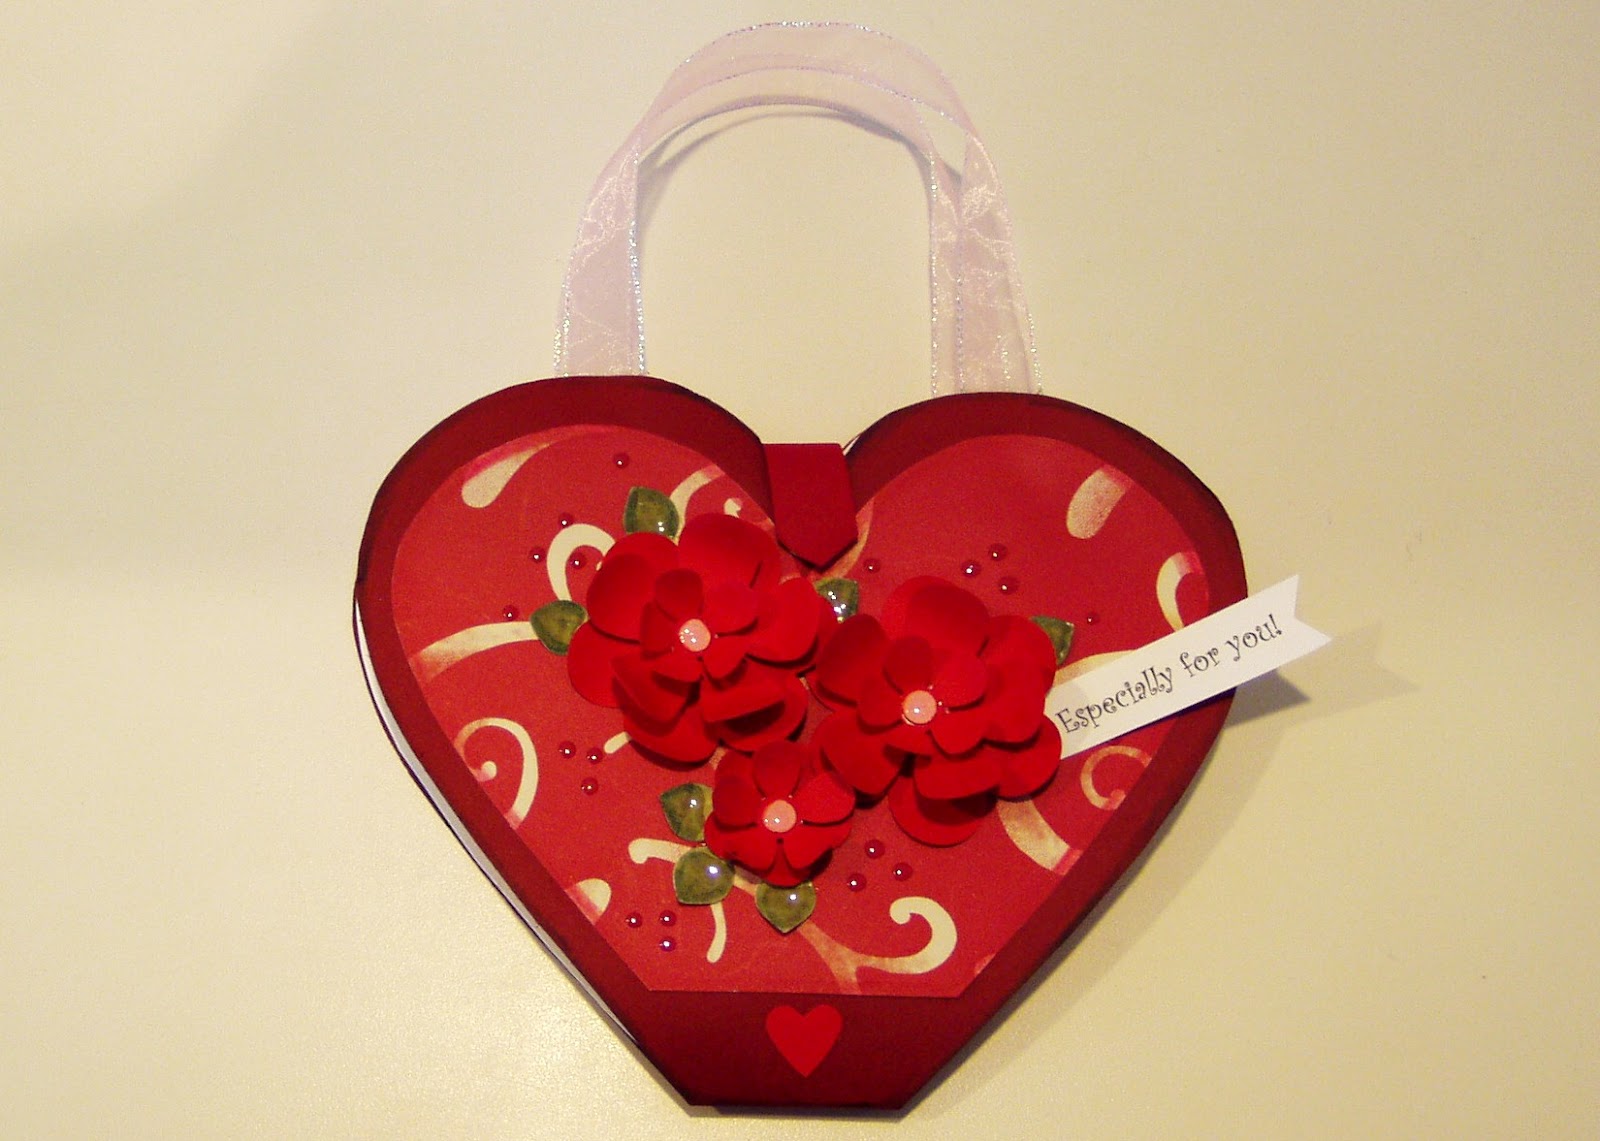
The above project is one I created a couple of years ago and made several versions of.  Each day for one week has a yummy chocolate and a relaxing activity suggestion for the recipient to pamper themselves.  You can personalize it for whoever you are giving it to.  The heart is about 8" wide and you can make it whatever size you like.  Below is another version.


Maybe the above projects will inspire you a little to create some of your own. These patterns were all drawn and cut-out by me!  Now days most of us have personal die-cut machines to do this part for us.  But, this is a reminder that you can still create your own and use some paper punches for embellishing.  Perfection is not a necessity when sharing the Love!

Below are some photos of the projects I am featuring in a Valentine's Creative Hearts Workshop coming up.  It is a pictorial showing the die-cut I found to create some little baskets with a lid.  The box & lid are both cut from the same pattern.  The cards and a mini journal will be included in the workshop.  I enjoy finding patterns that make things other than that which was originally intended.  These designs are both traditional and a little vintage.


Hope you enjoyed the little tour of creativity and got inspired while you were here!

Happy Valentines Day!
 
Marilyn
 
PS.  See the top picture?  The garland was hung up using CraZy TACKz!
"The Tack with a Hook"!


Thursday, December 20, 2012

Christmas at my house 2012


SHARING TIME! 
 
The box and tags shown in the photos below are a workshop that I put together for the Holidays 2012.  We have been busy making Christmas tags/ornaments in my home studio at the Creative Hearts Workshops that I hold four times a month.  I am presently putting together the schedule for new workshops and classes starting in January 2013.  I can't believe the new year is approaching so fast!  I thought you might like some tag ideas to attach to gifts as Christmas is less than a week away! 
 

The following are a little gallery of close-ups for you to peruse.


Below is the embellished pillow box to store them all in!


Here are some little Reindeer that I created last year.  I think they are fun!
 
That is it for the crafty ideas.  Now I am going to share one of our Christmas traditions that we enjoy every year.

So!  Here is my Christmas card for you!  We traveled to a tree farm up by Silver Falls, Oregon to pick out our tree.  We shop at this one every year for our tree and love the family that owns the farm.  It gets us in the Christmas Spirit!


We walked through the forest of Christmas trees, looking for the perfect nobles to take home with us!  My daughter Lauren found the tree this year.

 It looked about the right height and was a lovely tree!  Think that is the one!
 

So, below she is marking our tree by tying a ribbon around a branch.  We also picked out a smaller tree for our family room.  As the years pass, I have to indulge my sentimental side by having a tree to accommodate all of the decorations that mean so much to me!  The smaller tree is a "country" theme and many of the homespun ornaments go on that tree.  I don't have a picture of it to show on here.....
 

Ok.  So we get this tree home.......and go to put it up......and guess what?!  It is a huge freaking tree and bigger around than we usually get.  It just didn't look quite this big in the forest.  It took a ladder to add lights and decorations.  The stool that I usually use to decorate just wasn't cutting it as you can see in the photo below!  My husband spent about four hours getting all of the lights on....just right.....had to be perfect!  Lol.


Viola'!  Shown below is the tree after we added the lights and decorations.  This is the living room and everyone gathers here to watch the TV when it is movie time.  BTW, my hubby got a new television that now takes the spot of the one in the entertainment center for Christmas.  It is already installed...we have the 3-D glasses ready to go and now I need to fill in the big hole that is gaping under the new television set.  I could use some ideas.......Had to move my Nativity scene too.....drat!
 

We like lots of lights at Christmas time.  They makes things merrier and brighter and also...cozier!  Funny though, as good as they make me feel, it seems like we are always ready to take them down and put them away when it is all over.  :-(
 

The final picture I will leave you with is the one of my "fake" tree in the dining room.  I love romantic country chic, so there has to be a little of that to look at as well!  I use boa on the branches and I love the way it kind of looks like snow and fluffs up the tree!


From my house to yours, I send wishes for a very happy Holiday Season and a Blessed Christmas!  May we all find joy in the little things and not forget to be thankful in all of it!

MERRY CHRISTMAS and HAPPY NEW YEAR! 
 
Blessings!
 
Marilyn

Monday, December 3, 2012

The Twelve Days of Christmas - in a gift book!


Christmas will be here in the blink of an eye!  I have designed a 12 days of Christmas book for a Workshop and I would like to share it with you today.
This little book takes some time to make because it has a lot of cuts from the Cricut machine as well as by hand.  I used Close To My Heart papers and the Cricut cartridges made especially for them.  This makes it even more special because a lot of loving care went into making it.

 
Pictured above is the book outside of the special box it is stored in.  You can stand it up as you turn the pages, as shown.  Each page has a pocket that can hold a gift card or special memento for that day.  The recipient will get a little surprise for each day as shown below.  Counting.....12, 11.....


10, 9.......


8, 7.....the 7th day actually has a detachable Christmas card!

 
6, 5.......
 
 
Day four has a little package that opens up... then 3...

 
two, one!

 
Merry Christmas!  Day 12 and December 25th!
Wouldn't it be fun to include a gift card from several of
your recipient's favorite stores or coffee shops?  Little
promissory notes or sentiments can be tucked in too!


Here's wishing you a wonderful Christmas season!  I will be giving this
book to someone special.  I hope you got some inspiration today and for lots more, make sure to hop forward or back on the blue button at the top of the page and see the ideas from other designers.  Have a great day!
 
Happy Holiday Crafting!
 
Marilyn


Monday, November 26, 2012

Decorating for the Holidays!

Wow!  It is nearly December!  By now, many of us have started our decorating, because we know if we blink our eyes, it will soon be January!  I love Christmas and I want to enjoy every minute of the month of December, so my decorating starts now! 
I love to decorate with garlands, banners, wreaths, and lots of other things that need to be hung up!  I have a little box that I keep my decorated Crazy TACKz in.  This one in the picture is one that I created for one of our sales team.  Take a peek inside and you will see some of the fun ways to decorate your CraZy TACKz before you use them to "hook it up" for the Holidays!


CraZy TACKz are especially useful in drywall, but they also work nicely in cork board, foam, and soft wood.  If I am affixing them to a surface where they will be permanent, such as a piece of wall decor, I use glue to secure them to the surface I am working with.
 
 
Here is a little closer view of the decorated Tackz.  I have used themed stickers, die-cuts, paper punches, rhinestones, sequins, and acrylic paint to embellish them.  A 1/16" hole punch works very well to make the little hole to push the Tackz through. 

I hope you are anticipating the Holidays and find time for joy in all the hustle and bustle of shopping, decorating and chores!  Make it a great December and a Happy Holiday season!


Happy Holiday Crafting!
 
Marilyn
Design Consultant for
CraZy TACKz