
 Hello friends and welcome to November! Can you believe it is here already? Lots to look forward to this month and the next, but also lots of work to do before the celebrations. Speaking of work..I have been working on some new projects that I would like to share with you today. There are several things to talk about, but I will start with these first. There are so many ways to use CraZy TACKz to get things "hooked up", but I am always thinking of decorative ways to use them that would be useful but also liven up the decor of your living space. Today, I am going to share some jewelry/what-not hangers using paper mache', a frame, a small easel, corkboard, and of course some CraZy TACKz. Following is a picture of the supplies I started with. I also applied Black and Red Glitter to my CraZy TACKz before I started. You can find a tutorial for that on an earlier blog.
Here is just about everything with the exception of the 12" frame, corkboard and foamcore board. You will see more of those in the coming pics.
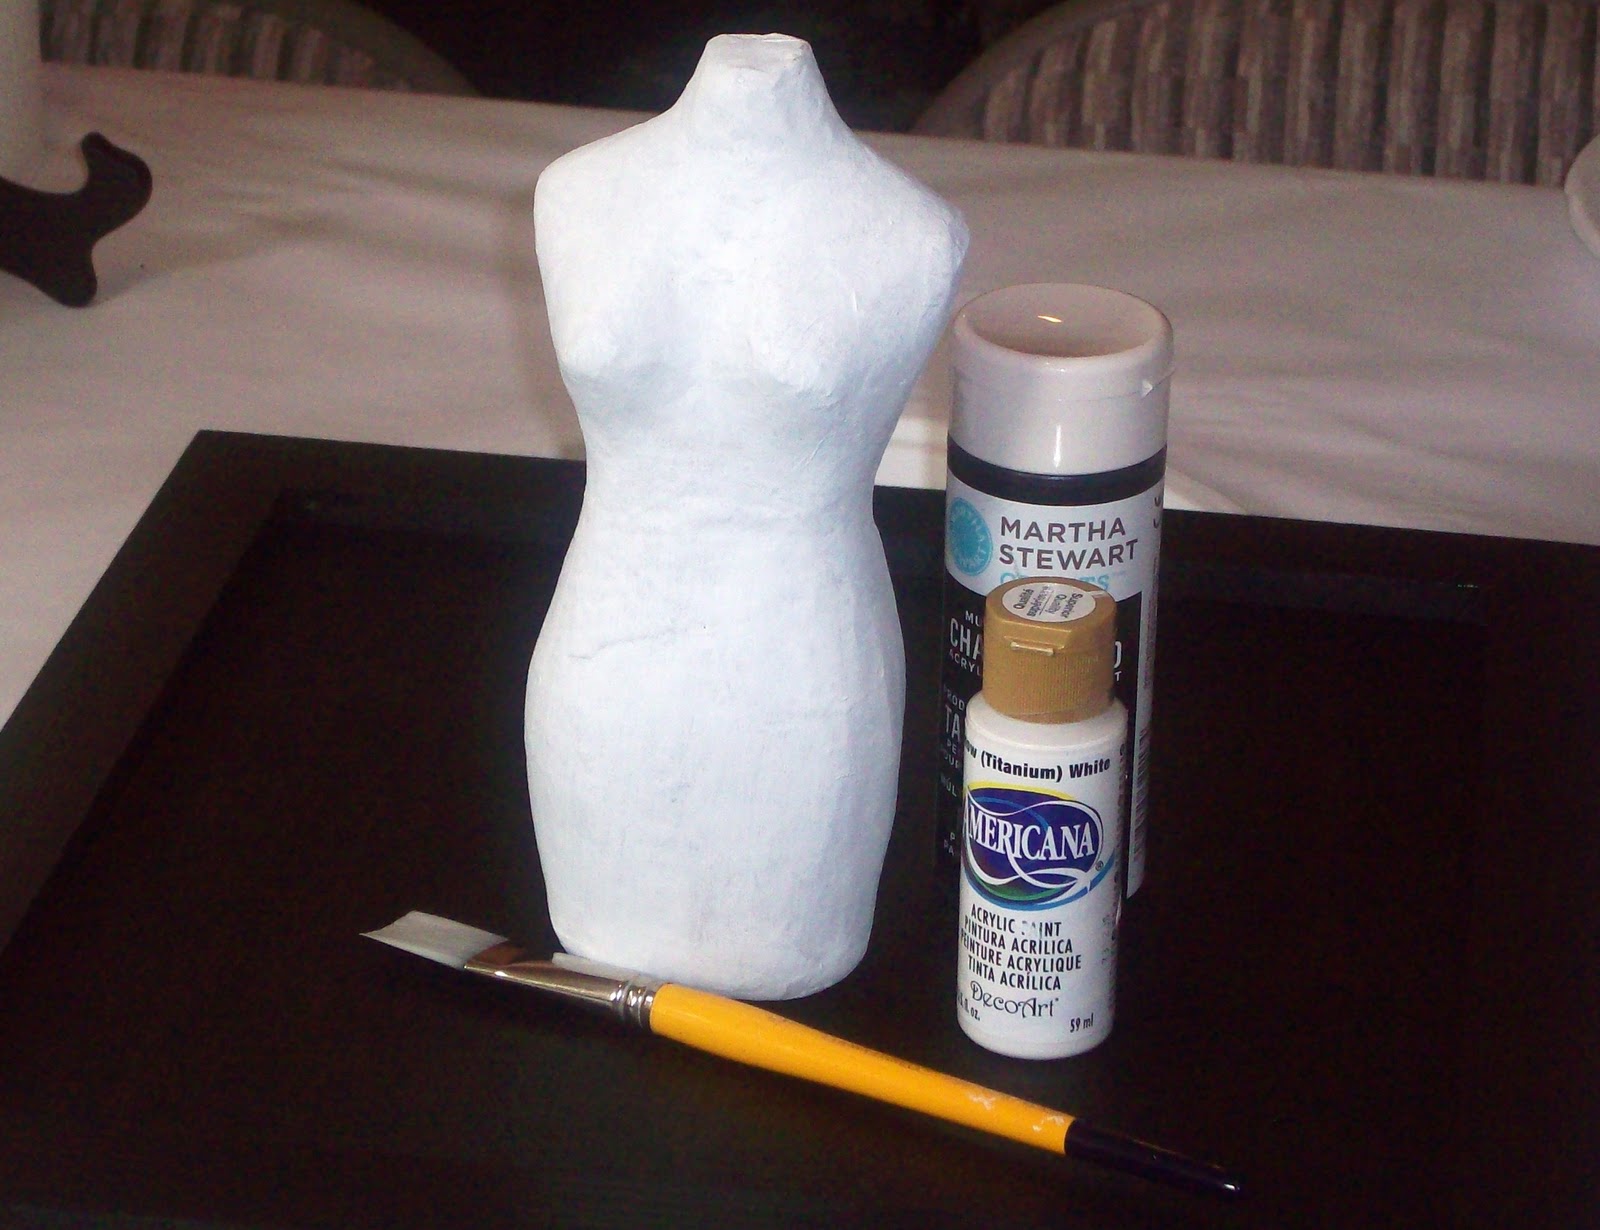
I put a basecoat of White on the paper mache' dress form and a coat of Black on the 12" wooden frame.

Next, I applied the tissue paper to the paper mache form using a Decoupage Finish. After letting it dry completely, I made a small hole and inserted the easel stand into the paper mache. This needs to be a snug fit. I also opted to add some plastic pellets and tissue paper to the inside of the form. This adds some weight so it will stand better.

Next, I used some of my paper punches to make the flowers to embellish the CraZy TACKz. This fun way to decorate the tackz will also be featured in a project sheet of basic ways to embellish CraZy TACKz. That is for later.

I stacked the petals, then punched a hole using a 1/16" hole punch in the middle of the flowers. Then, apply a small amount of adhesive around the punched holes, adhering the petals together. Next, insert the CraZy TACKz in the hole and adhere to the flower. Now it is ready to use!
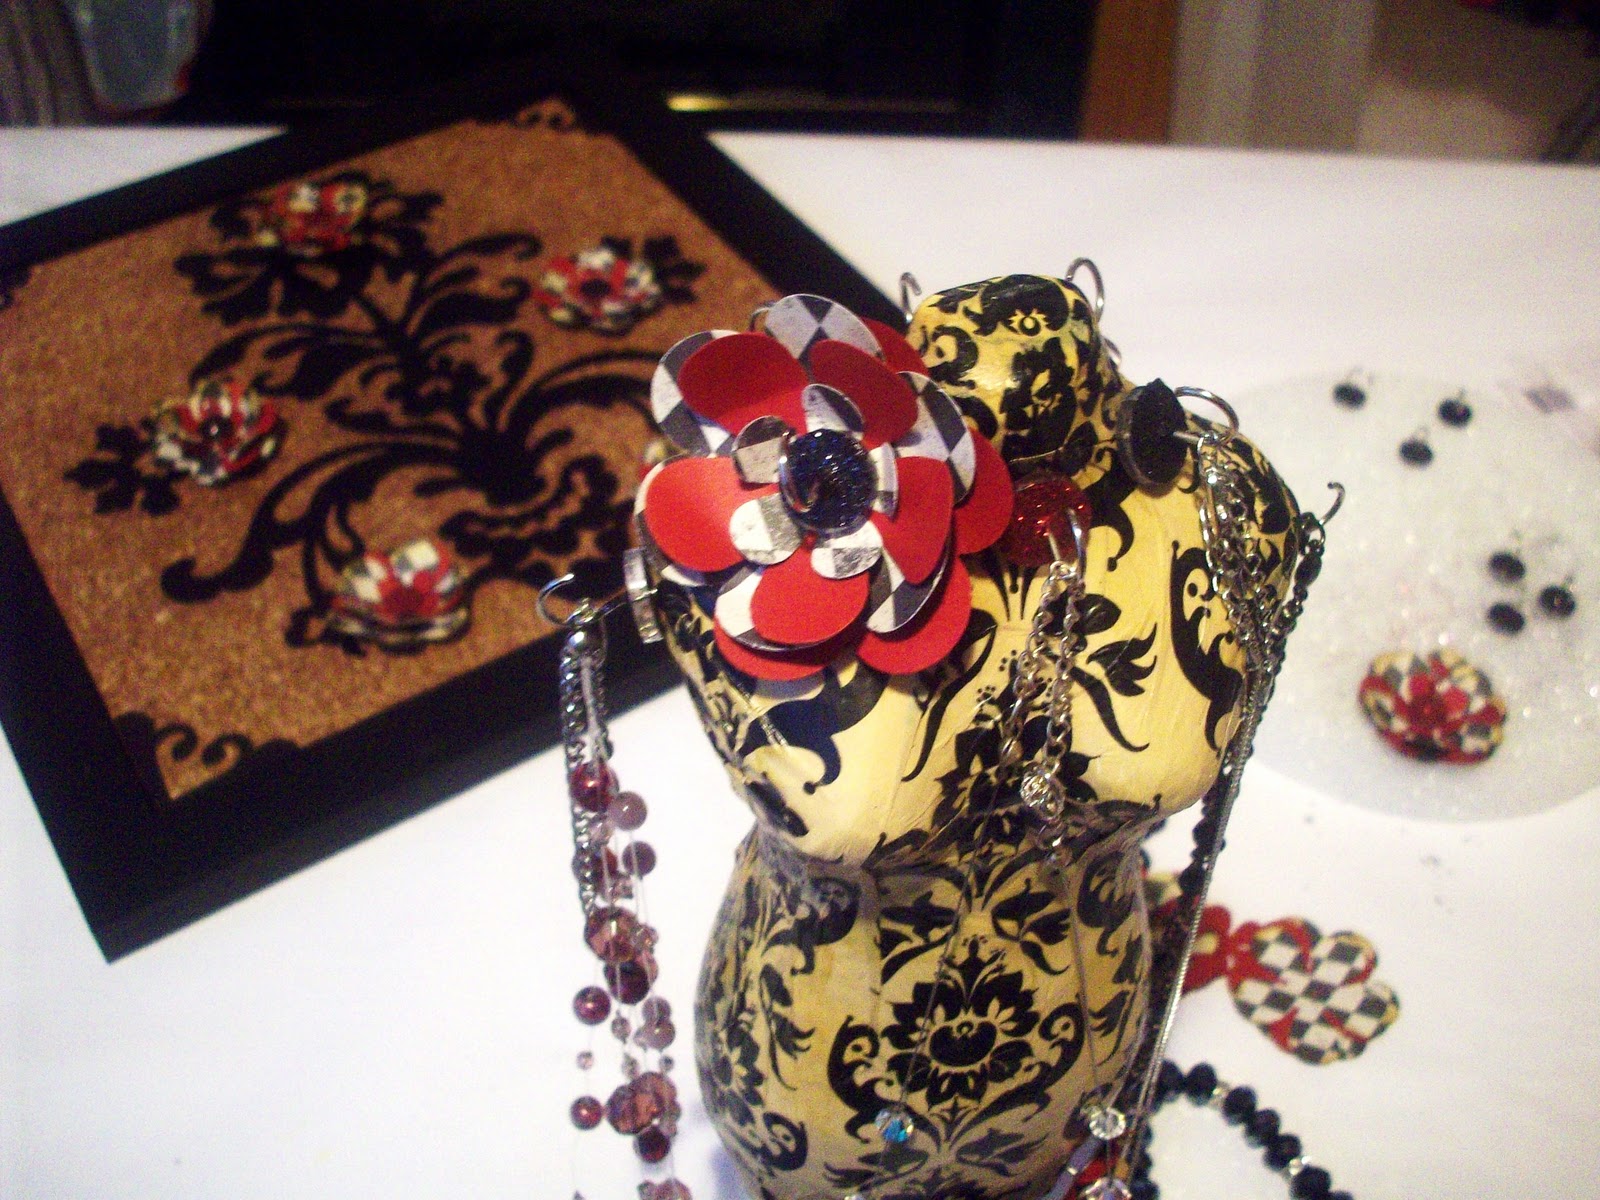
Here is the flower, attached to the dress form. You decide where to place it, then just push it into the project. You will repeat this step to finish your designs.

Here, I die-cut a Filigree design from 12" Black cardstock paper and adhered it to the corkboard using the Decoupage medium. Once I got it down on the board, I applied a coat of the medium on the entire surface and let it dry.

Next, I layered the cork onto a 12" square of foamcore board (for added thickness) and adhered them into the 12" inset of the wooden frame.
This same technique could be used with a finished purchased frame...just be sure to remove the glass on the front!

Here it is...just before I added all of the finishing touches. I applied glitter to some extra CraZy TACKz and placed them around the board. I also added corners to the wall hanging. I would suggest finishing the piece by adding a ribbon hanger that extends above the piece, or you can just attach it to the wall. I used an acrylic table stand for this photo.

Here is one more picture of the two finished projects. Aren't they romantic looking? This is another fun and aesthetically pleasing way to "hook it up" with CraZy TACKz! Check out our link on Facebook for our latest video and project sheets. Our Advent Calendar can now be downloaded and printed out. I will add the link to this Blog if I can!
If you have any questions regarding this project or any that are featured on the Blog, please contact me at marilyn@crazytackz.com, or just leave me a note. I will be happy to help in any way that I can.
Happy Crafting!
Marilyn
Design Consultant
for
CraZy TACKz

We have a project sheet for our Advent Calendars now!


Hi Marilyn,
ReplyDeleteLooks like you have been a busy girl. Like your new designs.