
Well! Here it is in all it's glory!
My vintage window....all etched and hanging proudly in it's perfect spot.
There is a story about how it finally got there and I will share it below!

It all started with me getting a new couch for the family room. It is a recliner-sectional couch and is behemoth compared to my last recliner couch. I needed something heavier on the wall behind it to anchor the couch and pull it all together. I found two vintage windows and thought they would work nicely.
Did I say that I found the windows months back? And that it has been months that I had empty space on my wall? I knew I wanted to etch, but was a little apprehensive about working with large letters and getting them straight, etc. I was holding onto my great idea and sharing with my friends. It just so happened that another friend who loves vintage had a wedding coming up. We decided to do her slightly smaller window first and give it to her kids as a wedding present. We took photos of the process and I put it on my blog. Here is the link if you would like to take a look at how we did that window! http://marilyngossett.blogspot.com/2015/05/etchall-project-home-decor-piece-for.html

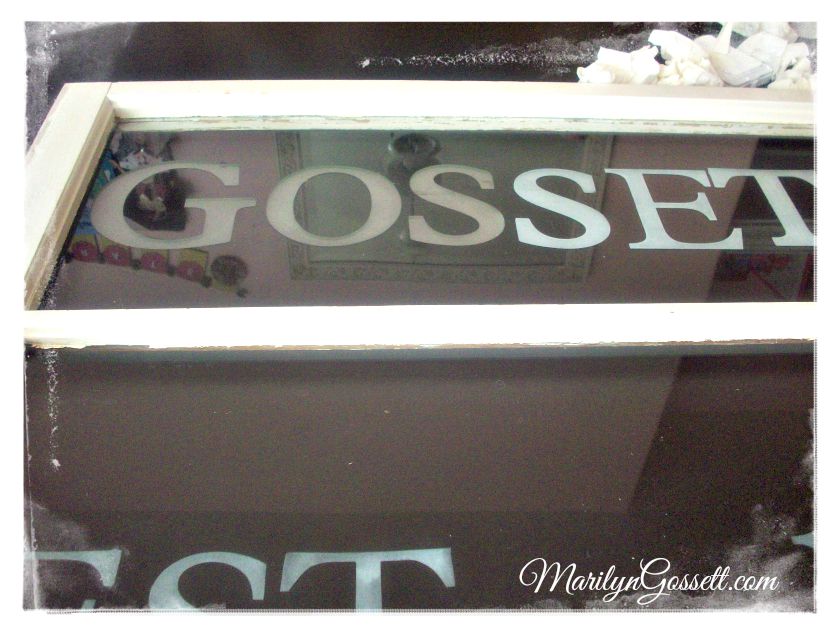
Now to get on with the story of my own etched window. The photo below shows that my window was put to some use during the months that I procrastinated. My studio cat, Buffy, used it as a foot/paw rest on many occasions. I am always entertained when I watch her lounge about...and I am pretty good at keeping pressing projects at bay as I ponder....

We finished my friend Cindy's window in one day. Mine was a work in progress over half of the Summer. Below are some photos of the process.
The first step was cutting paper letters to make sure I had everything sized and spaced properly before I actually cut etchmask with Transfer Sheets to start my project. Along with these two products; I used etchall Creme.

This is what the etchall Transfer Sheets look like. The etchmask is yellow vinyl.

I was ready to cut my letters and below I was cutting the real deal.


Below is a photo taken after it was all finally finished! I love it! Because my wall is light cream color, I decided I needed to add a little something to my etching to get it to pop against the wall. I used a permanent white ink-pad and paper towels and inked the etched letters. A lot of rubbing around each letter is necessary to make sure there is no ink left on the smooth glass.
My hubby helped me to get the window prepared for hanging....some carefully placed wires and a heavy enough gauge to make sure the wire doesn't snap. We also put a molly bolt into the wall. I was so thrilled to get my project finished and on the wall!! I now have the smaller window to finish. It is on my wall to complete the grouping, but I am going to etch "FAMILY" on that window. The letters will be placed vertically and I will be getting on that project very soon. After all, I am an expert at this by now. Right??
Here is another shot of my finished wall grouping. (Well, almost finished.) I love it and I love all things vintage. I mix in vintage with my decor whenever I can.
I hope you got some inspiration today and stayed with me to the end. Took me long enough, huh? So, go out there and enjoy the small blessings along the way, and....
Live Life with a Flourish!
Marilyn
To get more information on etchall's great products and how all the products work together; Barbee the owner has a great tutorial on the website at this link: http://etchall.com/


I love how this turned out...what a wonderful keepsake!
ReplyDelete