
You will need:
Smoothfoam: one 12" Scrapbook Mount
12" Scrapbook Tablet: Tim Holz, "Destination" paper stash
12" cardstock: one Slate, one Dark Brown
Decou-Page medium: Matt by Deco Art
Metallic Waxes: Black and Copper by Deco Art; rag scraps for application
Craft Glue
Pigment Ink Pad, Black
Embellishments: 1-1/4" filigree butterflies, 1-1/2" filigree squares, 1" metal washers, brass paper fasteners,
1" h x 3" w doll eyeglasses, paper roses: 3/4", 1-1/4"
Tissue Paper: matte gold, metallic gold
19 gauge wire, two pieces bent into 1/2" u -pins
2 tacks with a hook: used patented clear and round CraZy TACKz (see link in credits below)
Artiste Cricut Cartridge by Close To My Heart (die-cut gears) (see link in credits below)
PDF's: (attached) Calendar Elements, Pattern for Wings, Gears
Tools:
Cricut Die-cut machine
Paper Trimmers
Scissors
Paintbrush
Wire Cutters

1. Wad the tissue into a ball. Unfold and flatten out. Apply Decoupage medium to the Smoothfoam, following manufacturer's instructions. Tear tissue into large pieces; adhere to the entire surface. Tear large strips of the metallic gold tissue. Adhere, leaving wrinkles in the tissue paper. Allow to dry thoroughly, preferably overnight.
2. Apply copper wax randomly to the textured surface, allowing the gold to show through in spots. Repeat with the black shimmer wax. Apply the Shimmer Wax to the paper wings and to the filigree elements.

3. Cut ephemera clocks from the Tim Holz papers. The cardstock gears were die-cut. A PDF file is attached if these must be cut out by hand. The larger gears are important for the over-all design. The 1- 1/2" die-cut gears could probably be replaced by something purchased that will work the same. There are 22+ of the smaller gears that are adhered to the perpetual calendar pages.
4. Chalk the edges of the ephemera and die-cuts with the Black pigment ink pad.
5. Arrange and adhere ephemera to the textured Smoothfoam.
For the Calendar:
1. Background: Cut one 6-1/2" square and one 6" square from patterned cardstock. Adhere the smaller square to the larger square. Center and adhere to the board.
2. Months: Cut twelve 1" x 2" rectangles. Print out the attached PDF containing the months and dates. Center and adhere "January" to the background paper. Repeat with February and adhere to the backside of the January card. Repeat for each month.
3. Days: Cut 22 2-1/2" x 3" rectangles. Cut and adhere the days as for the Months, using the front and the back of each card.
4. To hang the cards: Center and glue the bottom half of a 1-1/2" gear to the front of the January card. Repeat; gluing one gear to the front of each card.
To finish:
* Cut the fasteners off of the brass paper fasteners and glue the round piece to the corners of the calendar as shown. Repeat the process with two more brads only adhere one to the center of the 2 large gears.
* Center and glue the CraZy TACKz to the calendar. Hang the perpetual calendar cards on the hooks.
* Center the eyeglasses above the calendar cards. Make 2 pilot holes for the wire u-pins. Secure the eyeglasses to the board.
* Display on an easel or glue a saw-tooth hanger to the back.


You can add a couple more panels to the calendar for a larger piece of wall decor. These last two photographs show an example of some Steampunk paper sculptured angels I made last year. I make them in ornament size (6") as well as the taller ones as shown here. Hope you have enjoyed the project!
Visit the Smoothfoam Blog (link) for lots more ideas using Smoothfoam products.
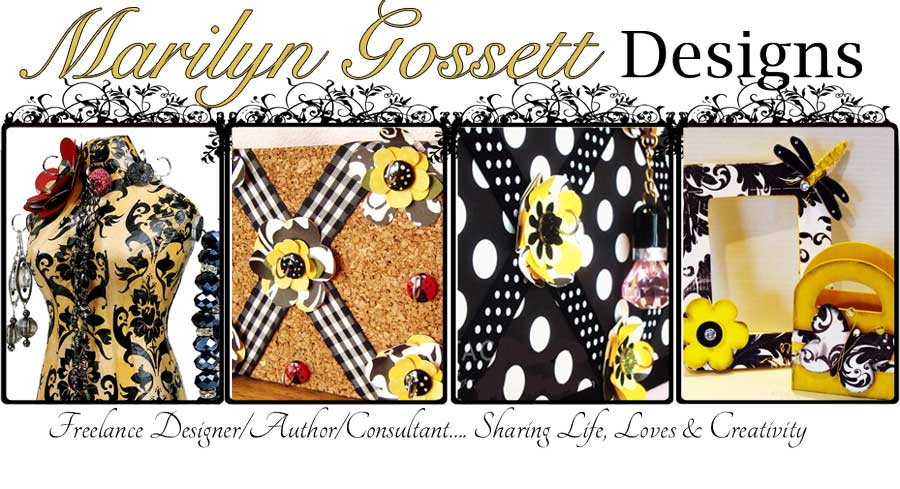
Live Life with a Flourish!
Marilyn
PDF Patterns for gears and wings (link)Product Credits:
*Smoothfoam, 12" Scrapbook Wall Mount
*CraZy TACKz, the patented Tack with a Hook (link)
*Deco Art: Matte Decou-Page
*DecoArt: Metallic Lustre: Black Shimmer, Copper Kettle, Iced Expresso
*Close To My Heart; Cricut "Artiste" Cartridge #Z1790 (link)