Monday, November 26, 2012

Decorating for the Holidays!

Wow!  It is nearly December!  By now, many of us have started our decorating, because we know if we blink our eyes, it will soon be January!  I love Christmas and I want to enjoy every minute of the month of December, so my decorating starts now! 
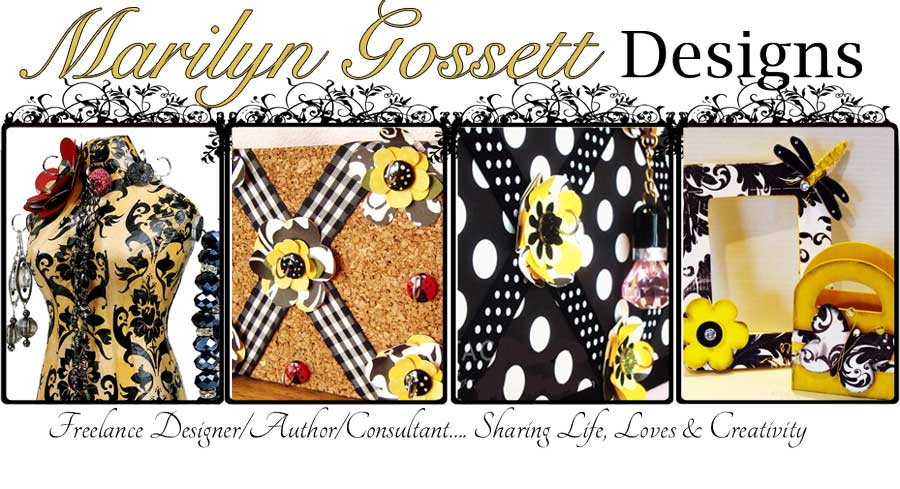
I love to decorate with garlands, banners, wreaths, and lots of other things that need to be hung up!  I have a little box that I keep my decorated Crazy TACKz in.  This one in the picture is one that I created for one of our sales team.  Take a peek inside and you will see some of the fun ways to decorate your CraZy TACKz before you use them to "hook it up" for the Holidays!


CraZy TACKz are especially useful in drywall, but they also work nicely in cork board, foam, and soft wood.  If I am affixing them to a surface where they will be permanent, such as a piece of wall decor, I use glue to secure them to the surface I am working with.
 
 
Here is a little closer view of the decorated Tackz.  I have used themed stickers, die-cuts, paper punches, rhinestones, sequins, and acrylic paint to embellish them.  A 1/16" hole punch works very well to make the little hole to push the Tackz through. 

I hope you are anticipating the Holidays and find time for joy in all the hustle and bustle of shopping, decorating and chores!  Make it a great December and a Happy Holiday season!


Happy Holiday Crafting!
 
Marilyn
Design Consultant for
CraZy TACKz


Friday, November 9, 2012


Celebrate the Seasons
with Smoothfoam


It won't be long now and we will be putting up our Christmas decorations and presents under the tree!  The seasons pass very quickly and this year, I for one, want to be ready!

For this Smoothfoam  challenge, I have come up with a winter decoration that can be changed up for Spring.

The Snowman is made from foam balls and disks.  The base is a large disk, covered with ribbon and burlap.  I used Snow-Tex to paint the snowman and acrylic paint on the face and for the birds.


Once the Holidays are over, you can change up your decoration by removing the snowman, placing the little birdies on a birdhouse made from foam and place it on your table for everyday!

 
Paint a block of Smoothfoam for the main birdhouse.  I cut a rectangle in two, positioned, glued, and secured the top of the roof with toothpicks.  Toothpicks work great to hold the foam pieces together along with some glue to secure.

The birdhouse can be embellished as much as you like.  I kept it fairly simple by painting it with acrylic paint.  Decoupaging with a colorful tissue paper or memory papers would also add a nice touch.  Multi-media techniques are very popular and can be applied here with wonderful results.

The little birds are two small Smoothfoam balls painted with acrylic paint.  For Christmas, they can be painted red or other colors, covered with glitter and glued to a clip to make a great Christmas ornament. 

Last Spring, I went to Ohio to film a segment for a product I represent called CraZy TACKz.  My project was wall decor and I used the Smoothfoam 12" square wall mounts for the base of my project.  Following is a picture of the project.  The instructions can be found on the Scrapbook Soup website:
http://scrapbooksouptv.com/projects/SS_200/210/Scrapbook_Soup_210-2.htm .  The segment aired on PBS in September, 2012.


That is all I have to share for today.  Hope you are gearing up for a great Holiday season and are getting lots of inspiration here and from the other great designers on the Designer Craft Connection.  Remember to go to the blue DCC button and "hop" to the next blog!

 
Happy Crafting!
 
Marilyn


Monday, November 5, 2012

How do you show your Thanks?


 There are so many ways to say "Thank You" to someone special.  As the Holidays approach, we will be attending dinners, hosting dinners, exchanging presents, just for starters.  Since our theme this month is based on Thank You gifts, I decided to come up with something that was affordable, easy and handmade, as I want it to be a gift from the heart.  The theme can be changed up to match the occasion for the token of appreciation. I chose an everyday theme for my thank you.

 
Most of us have paper supplies these days and personal cutting machines.
I gathered a few supplies and cut out a card that says thank you at the top.
Then I embellished it with some more die-cuts, handmade paper flowers, rhinestones and ribbon.  I wanted damask patterned paper and didn't have some on hand, so I created my own using white paper, black ink and a rubber stamp. 


Inside the card is where the real thank you gift is found.  I chose a coffee card from Starbucks, but any gift card would be a perfect fit for the little pocket envelope on the inside flap of the card.  The inside was embellished  and a square of contrasting paper was glued to the bottom flap.  This is where you can write a personal message.


This is the card right after it came out of the Cricut machine.   I used the Artiste cartridge from CloseToMyHeart.
 
 
Here is a close-up of the front of the card.  I love the aesthetic of France
and the black and white with a punch of color.

I hope you feel a little more inspired than when you first stopped by!  Have a Blessed Holiday Season and HAPPY CRAFTING!

 
Marilyn